Occupancy Grid Map
Occupancy Grid Map Setup
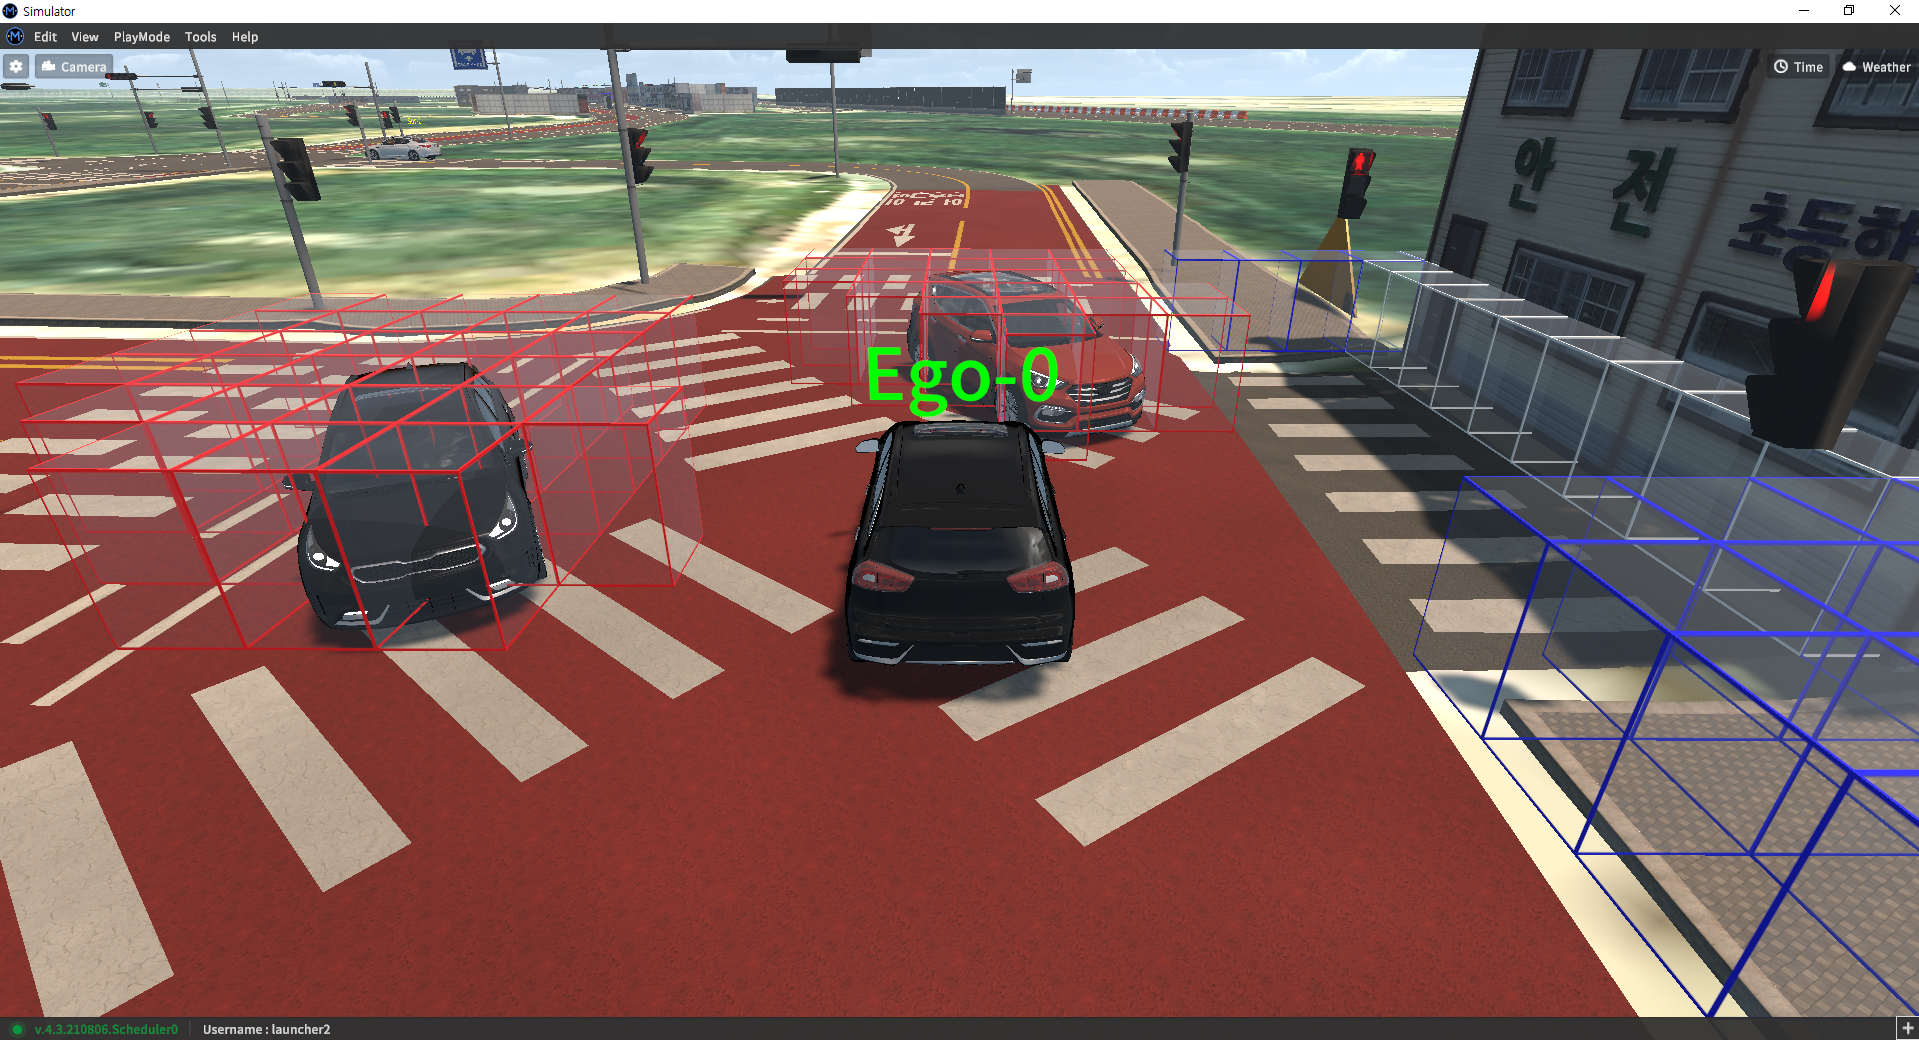
The Occupancy Grid Map feature reports objects within close proximity of the ego-vehicle as squares within a grid.
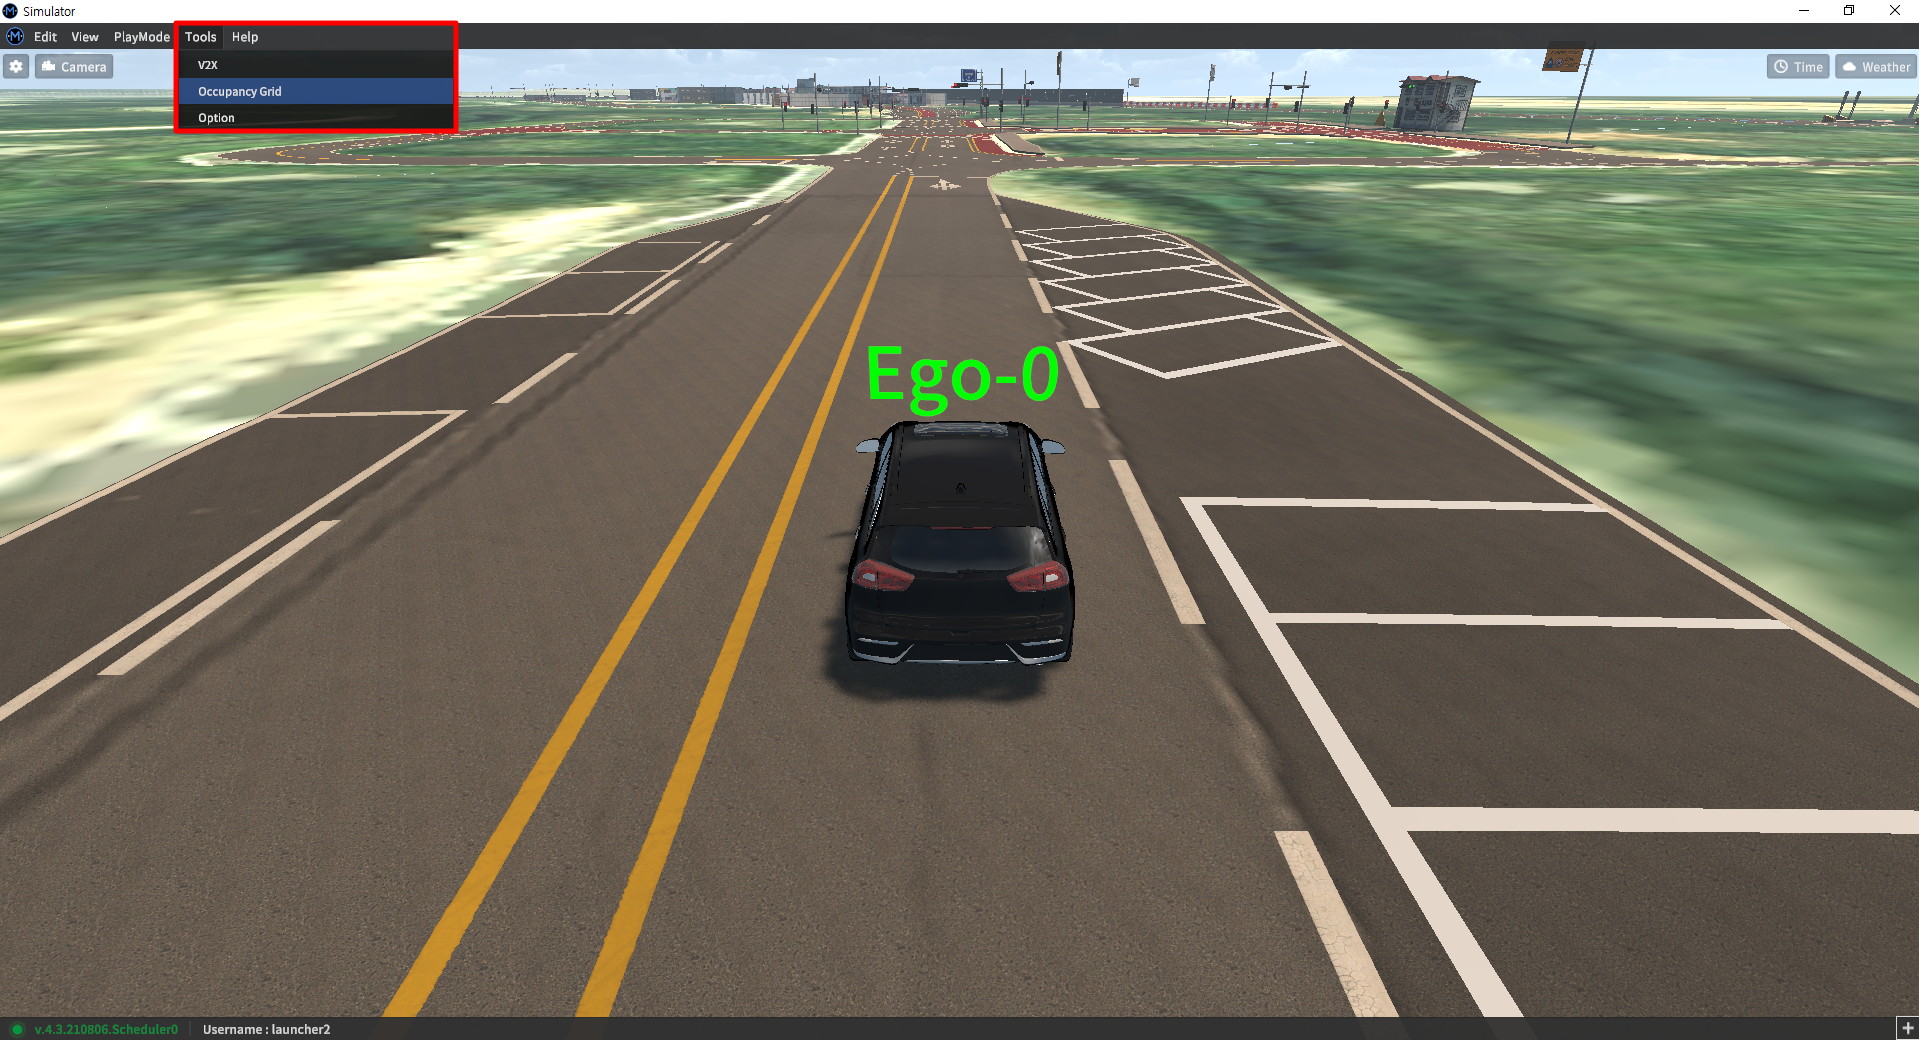
Go to Tools >> Occupancy Grid located on the main menu bar. Once selected, a separate window should appear where you can input the following options.
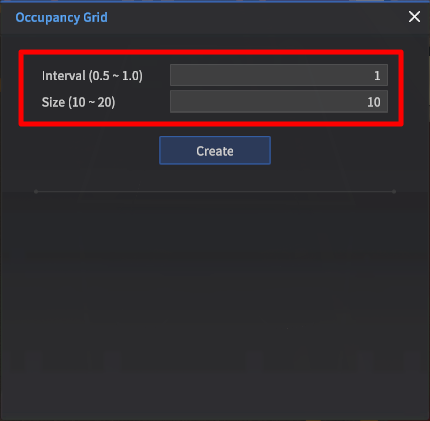
Occupancy Grid
Interval: defines the distance from the ego-vehicle to Occupancy Grid (0.5 - 1.0)
Size: defines the size of one Occupancy Grid cube (10 - 20)
(Selecting a size of 10 will generate an Occupancy Grid Map with a length and width of 20.)
Once the values are filled, out, press the Create button to toggle the next set of options.
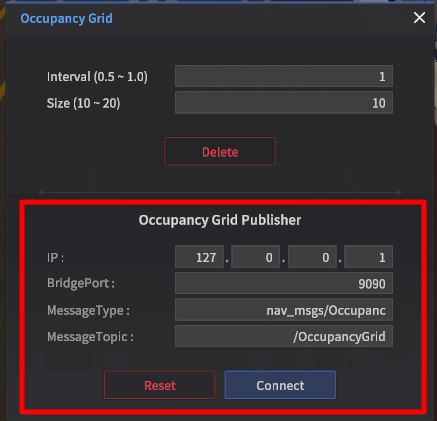
Occupancy Grid Publisher
IP: The IP address of the ROS system connected to the simulator
BridgePort: The port number of the ROS system
MessageType: The default type is nav_msgs/OccupancyGrid
MessageTopic: The default topic name is /OccupancyGrid
After setting up the ROS message details, press Connect to begin publishing the Occupancy Grid Map message.
Interface Details
Assuming the ROS environment was set up correctly according to the ROS section of the manual, no additional setup should be necessary.
Occupancy Grid
OccupancyGridPublisher as described above, publishes the presence of objects in an occupancy grid centered around the ego-vehicle.
ROS message details
Message Type: nav_msgs/OccupancyGrid
Default Topic: /OccupancyGrid
No | Name | Type | Unit | Remarks |
|---|---|---|---|---|
1 | info | - | ||
2 | header | Header | - | |
3 | data | int8 | - | Occupancy Grid Map data where the starting index of the list is the rear left-hand corner of the grid, and the final index is the front right-hand corner of the grid. Values are allocated as follows:
|
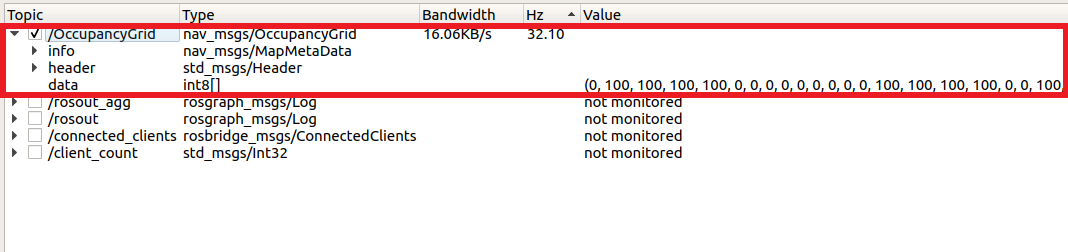
Verification
To verify the Occupancy Grid Map message is broadcasting, simply check the /OccupancyGrid topic through rqt. The data should be streamed as shown in the screen capture below.