MORAI SIM ROS Example Code Tutorial
Before we start
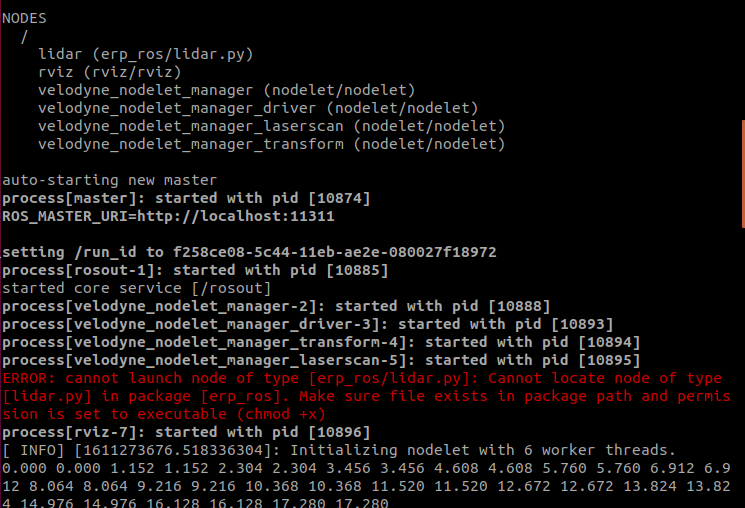
There will likely be some issue with file permissions in Linux systems. Add the downloaded example scripts to the system permissions list using the following basic code.
 cd ~/catkin_ws/src/erp_ros/
chmod -R a+x scripts/Properly adjusting permissions should prevent errors like those shown below.
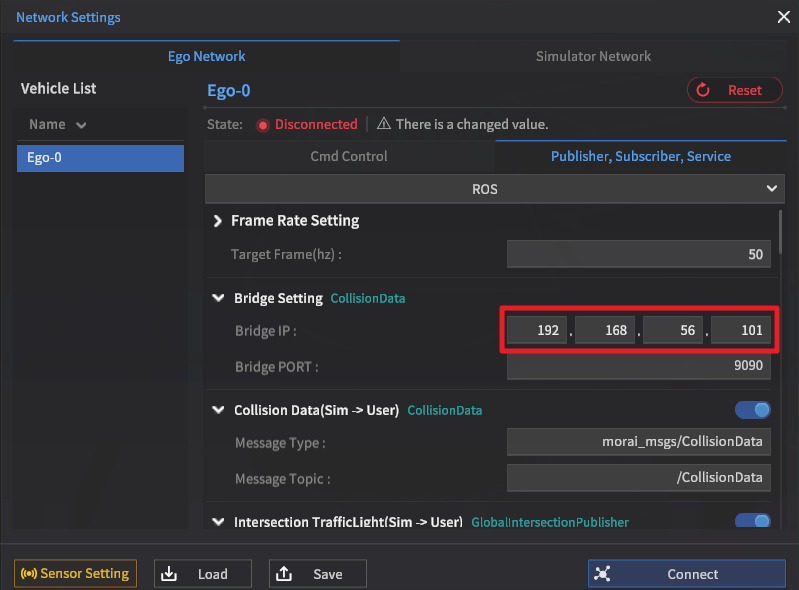
Simulator network settings
For the connected ego-vehicle (or a basic autonomous driving stack) to communicate with the simulation, set the respective IPs under the Ego Network tab.
When connecting over a rosbridge, enable $ roslaunch rosbridge_server rosbridge_websocket.launch
Testing the sensor model systems
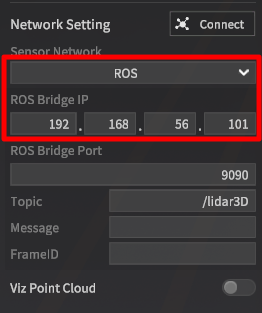
The sensor models will need to communicate with the ROS example system, and should be set up and connected according to the setting screens shown.
For a refresher on how to set up sensor models, please see the sensors page.
For each of the sensor models listed in this section, if you’re running all systems locally, set the sensor IP address to 127.0.0.1
Lidar model
$ roslaunch rosbridge_server rosbridge_websocket.launch
$ roslaunch gen_ros lidar.launch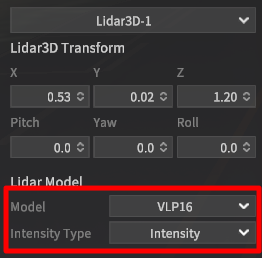
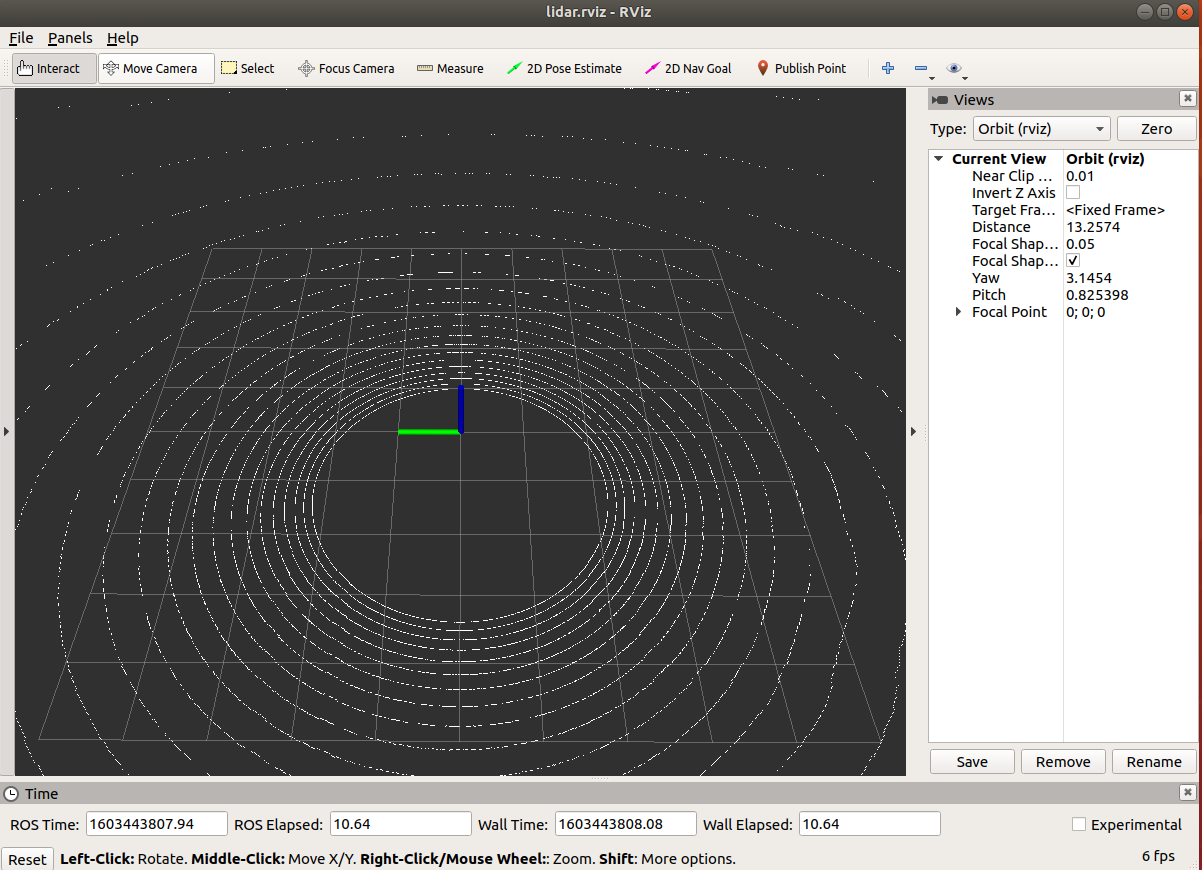
The lidar message output visualized with RViz
Camera model
$ roslaunch rosbridge_server rosbridge_websocket.launch
$ rosrun gen_ros camera.py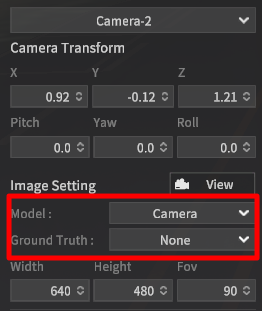


The camera model output should show up in a separate window
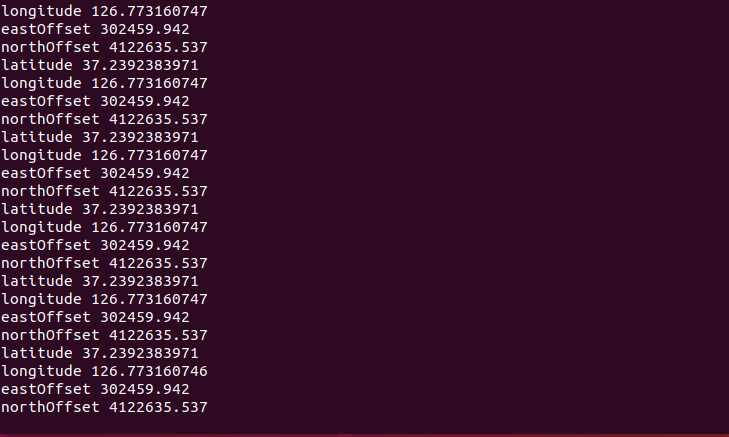
GPS/GNSS model
$ roslaunch rosbridge_server rosbridge_websocket.launch
$ rosrun gen_ros gps.py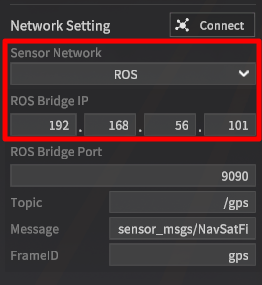
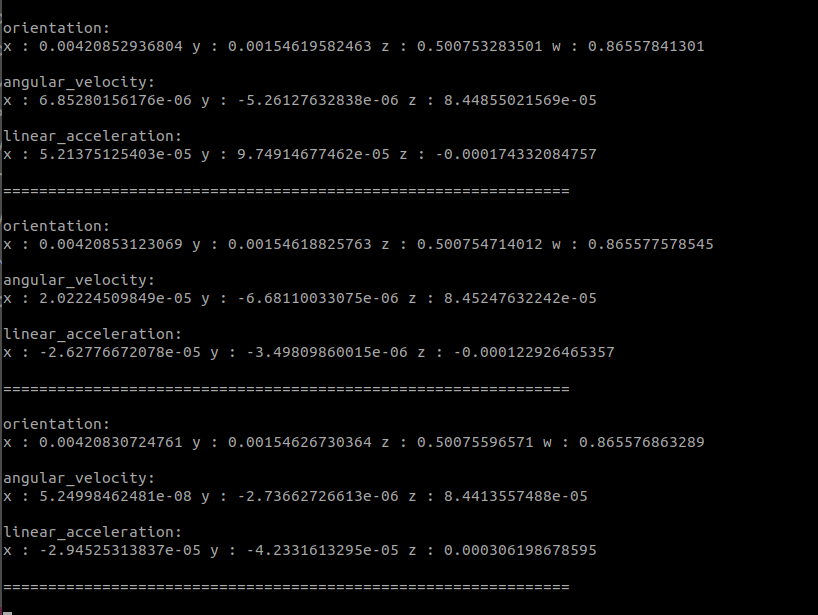
IMU model
$ roslaunch rosbridge_server rosbridge_websocket.launch
$ rosrun gen_ros imu.py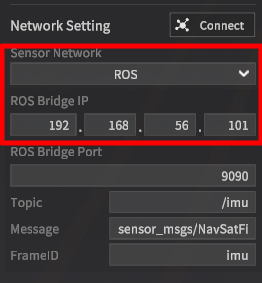
Setting up the test drive trajectory
We now need to set up a trajectory for the ego-vehicle to follow for this example. The example scripts come with .launch files that can do this for us, which we will run as follows.
path_maker.launch accepts two arg values - the directory path of the output and the output file name.
Example: args="path path_name"
$ cd catkin_ws/src/erp_ros/launch/ && gedit path_maker.launch
$ roslaunch gen_ros path_maker.launch
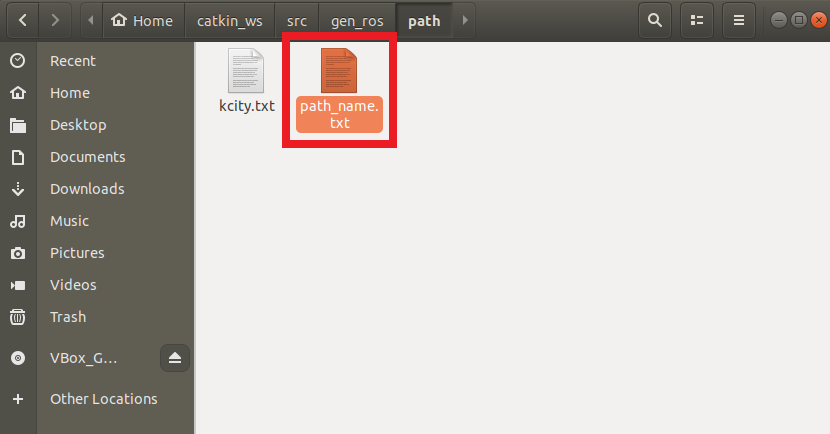
$ cd ~/catkin_ws/src/gen_ros/ && nautilus path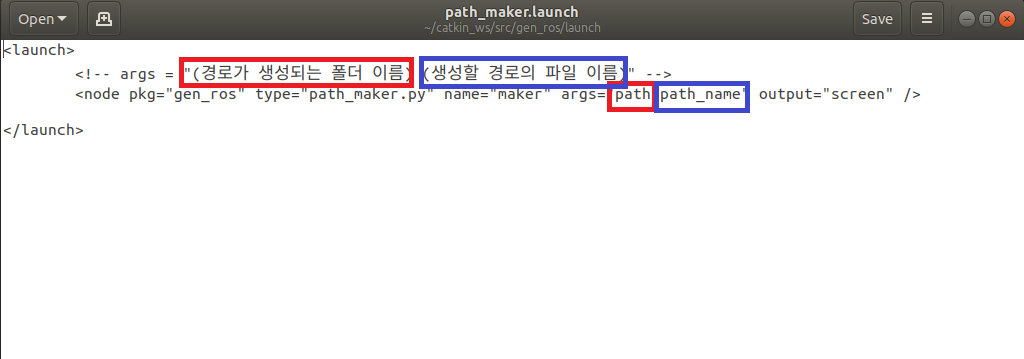
Upon completion, a path_name.txt file should be generated in the src/gen_ros directory.
Running the test drive example
Running the test drive is nearly identical to the path setup process above, with one difference. The input arguments for the gen_planner.launch file are:
The filename of the path .txt file
Traffic signal/light options (should be set to True for this example)
Example: args="kcity True"
With these arg values in mind, run the following code.
$ cd ~/catkin_ws/src/gen_ros/launch/ && gedit gen_planner.launch
$ roslaunch gen_ros gen_planner.launchAfter launching the path planner, shift the vehicle into auto mode (press the q key on the keyboard), after which the ego-vehicle should begin to follow the example test drive path. Movement in the path planner should match the vehicle’s behavior within the simulation scene.

Visualizing the planner within RViz