Create custom obstacles
Overview
The Custom Obstacle Creation tool (formerly named the Extra Asset Bundle feature) allows you to import your custom-made 3D environment assets - such as road surfaces, lane markings, and traffic signs - into MORAI SIM: Drive.
Custom Obstacle Creation is only available on Windows.
A Linux (Ubuntu) version is in development.
Installing Unity
Some additional tools and software are required to use the Custom Map Creation feature. First, we need a working installation of Unity. Use the links below to install Unity version 2020.3.6.
Download Unity Hub here: Unity Hub
Use the following link in Unity Hub to get the Unity version compatible with MORAI SIM: unityhub://2020.3.6f1/338bb68529b2
Installing the custom obstacle creation DLL
Importing custom MORAI maps is not a core feature of Unity and requires additional installation of our custom map .dll library.
Download the library files here.
Create an empty Unity project.
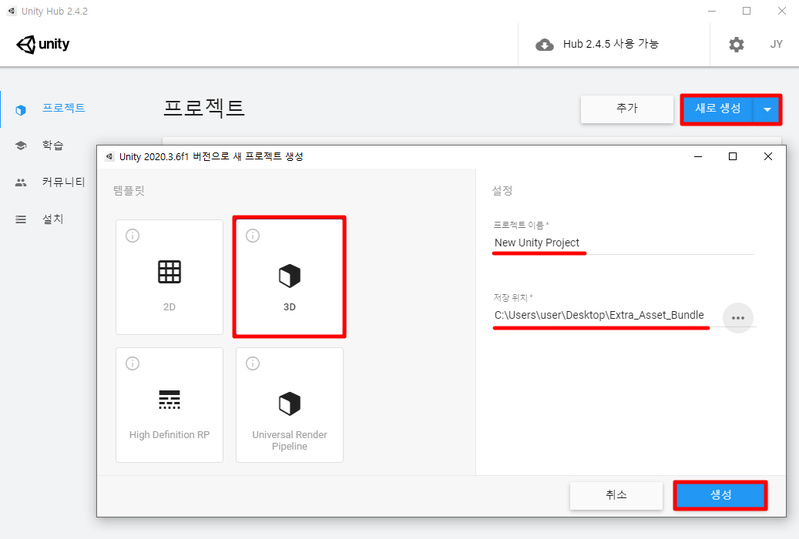
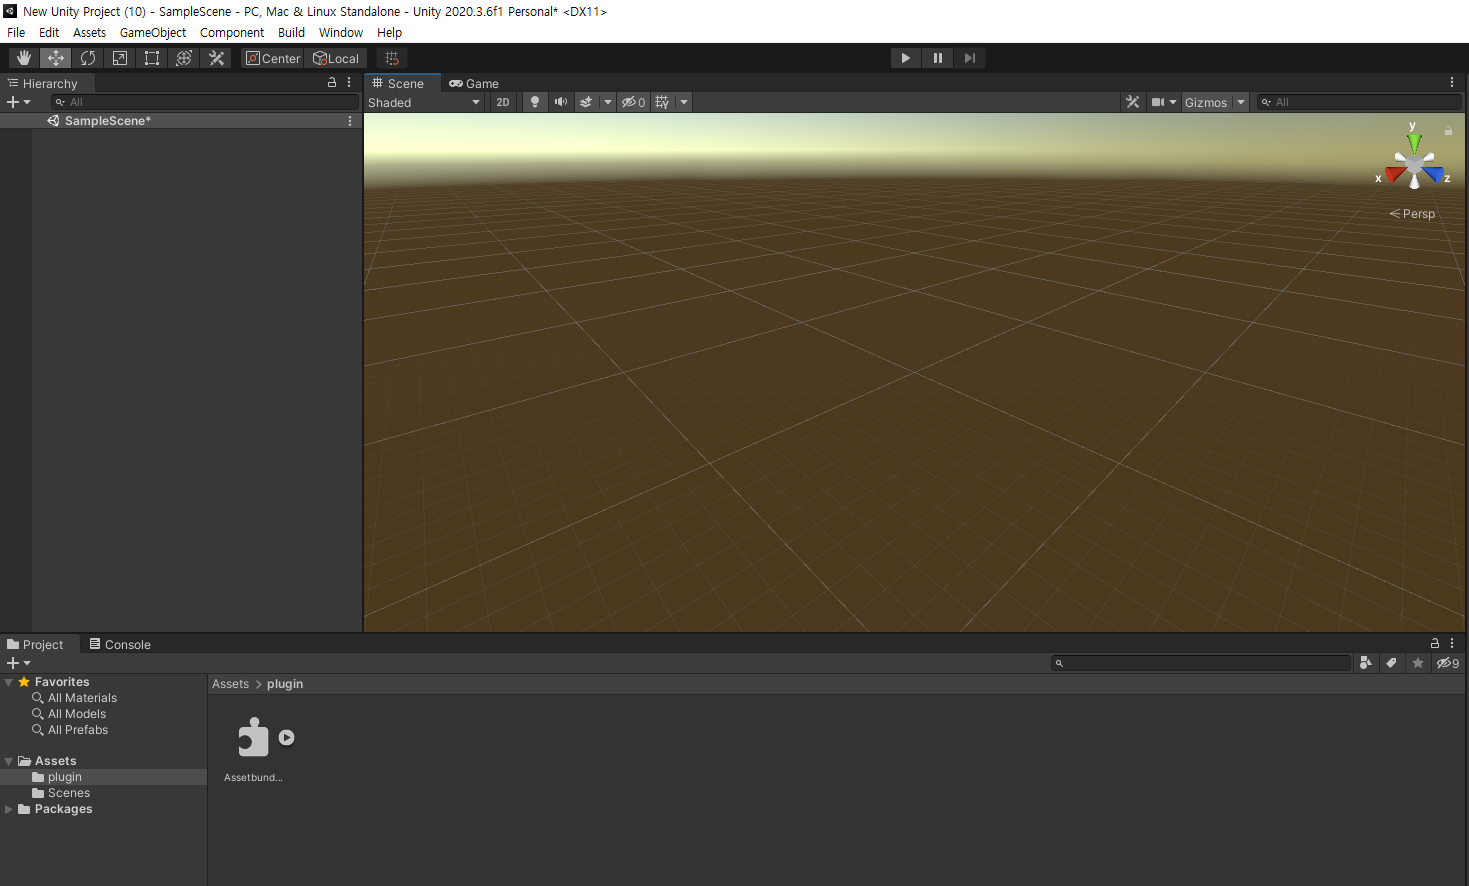
Create a folder named plugin within the project’s Assets folder and copy AssetbundleEditor.dll into the new folder.
Adding the .dll file will enable a new menu along the Unity menu bar. Navigate to Build >> AssetBundles >> AssetBundle Editor - clicking the menu will create a separate tab next to the inspector titled AssetBundle Editor, as well as a number of folders necessary for custom map generation.
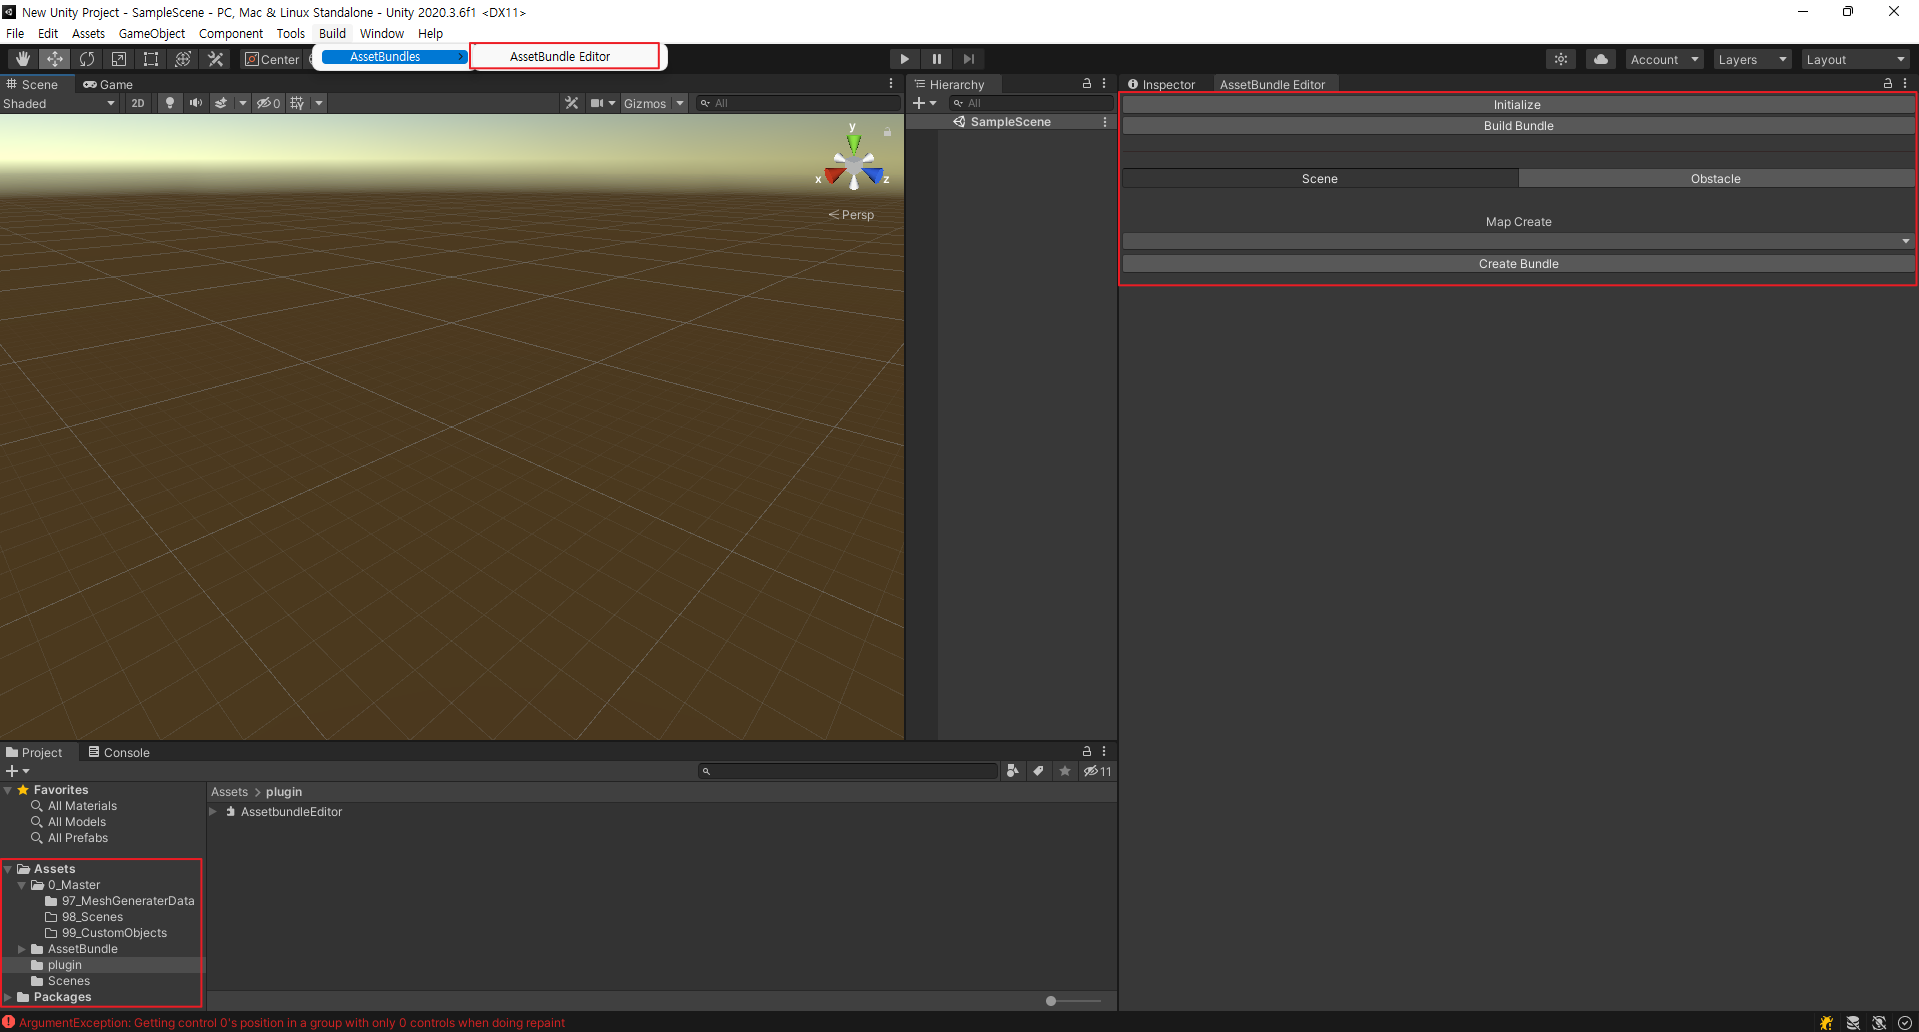
The AssetBundle Editor window offers the following UI buttons you can use to build your custom maps.
Initialize: initializes the Editor and prepares the system to import the necessary data and 3D mesh files.
Build Bundle: builds the custom map “bundle.”
Scene/Obstacle: switch modes between custom map or custom obstacle generation.
Building a custom obstacle asset
The Unity Project folder should already be prepared for Custom Map Creation. Check if the folder hierarchies have been generated correctly by comparing them with the screenshots below.
Go to Assets >> 0_Master >> 99_CustomObjects and create a folder for the custom asset. For this guide, we will use the folder test1. Any 3D object files (e.g. wavefront .obj or filmbox .fbx files) must be placed within this folder.
Now from the AssetBundle Editor, press Initialize. The drop-down list below the Scene/Obstacle switch should activate with the folder name test1. Select it and press Create Bundle.
Create Bundle only instantiates the asset into Unity. Finish generating the complete Custom Obstacle with the Build Bundle button.
Custom Obstacle asset files are generated in the following directory: C:\ExtraAssetBundle\win_extra\
These asset files must be placed within the data path for MORAI SIM: Drive. Move all files to \MoraiLauncher_Win_Data\Bundle\[Version]\Extra
Start MORAI SIM: Drive as normal. Enter Scenario Edit Mode and select the new ExtraObject tab that should appear below the spawn point tab. Select test1.obstacle and place it into the scene using Shift + Left-click. Your new custom objects should be placed into the scene as shown in the example screenshot.
